In our previous articles on Web Service event, we described:
In the following section we will demonstrate the use of Web Service event with Write Document With Response command (Direction = Read and Write), i.e. the data is exported to NAV and immediately processed through the complete pipeline in a synchronous process.
As pointed out in earlier article, there are few things to note before we proceed with an example:
- The Web Service Event uses standard Microsoft Dynamics NAV web service functionality. Please refer to the standard online help to learn about Working with Web Services.
- You also need your own client to invoke the web service. This is not in the scope of BIS. However, for testing purpose, you can download and use WCF Storm. It is a free and open source tool for testing web services.
Example
Setup the Connection:
We will try to simulate a scenario in which the client send the sales order data into NAV and expects a response from NAV containing relevant sales order number.
In this example we will use an existing template TI_CS_SALESORDER.IN (available in the software package Or download it here) and modify it to use Web Service event instead of File Reader endpoint and also add an XML Generator activity (for getting the response back).
- Click Departments/Business Integration Solutions/Connectivity Studio/Design/Connections
- Import the connection TI_CS_SALESORDER.IN from the sample templates.
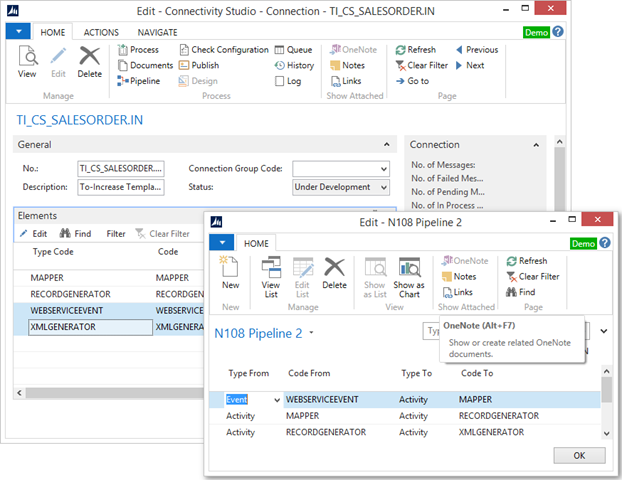
- Remove the FILEREADER endpoint form the element list and add WEBSERVICEEVENT. Also add XMLGENERATOR activity and Make the necessary changes in the pipeline.
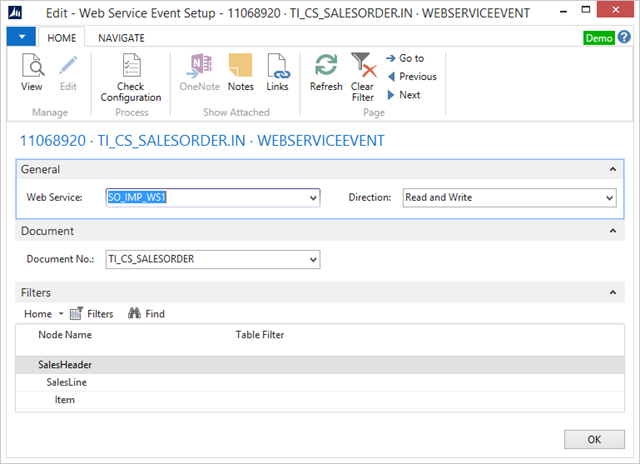
- Edit the Web Service Event and fill in the following fields:
Check the Web Services:
- Click Departments/Administration/IT Administration/General/Web Services.
- Click Edit List.
- Select the web service created in previous step (SO_IMP_WS1 in this case).
- Select the Published checkbox. This will also automatically generate a SOAP URL.

This SOAP URL is ready to be used by your client. Copy the URL and open it in a browser to check the result.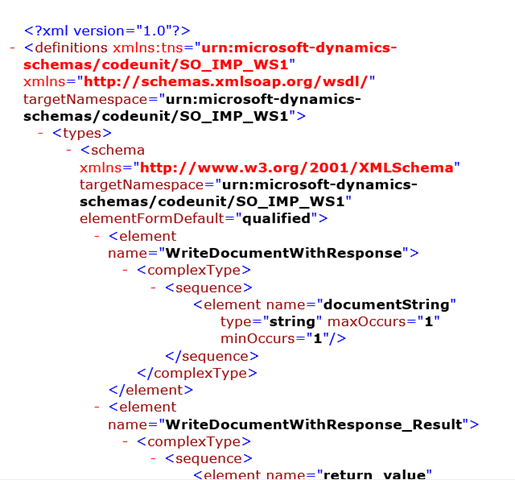
Invoking the Web Service Via Client:
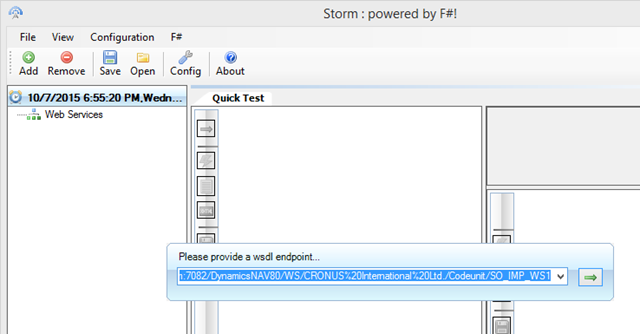
- For testing purpose, run WCF Storm.
- Click Add and add the SOAP URL.
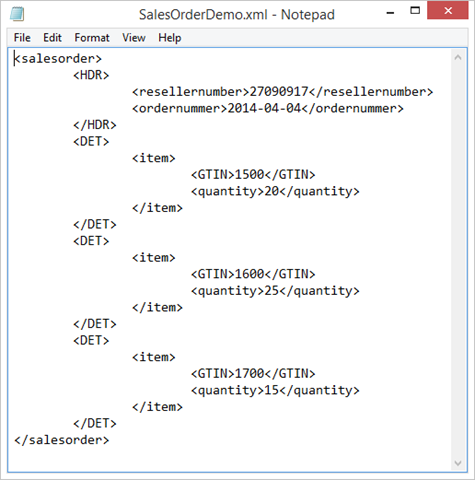
- From the software package:
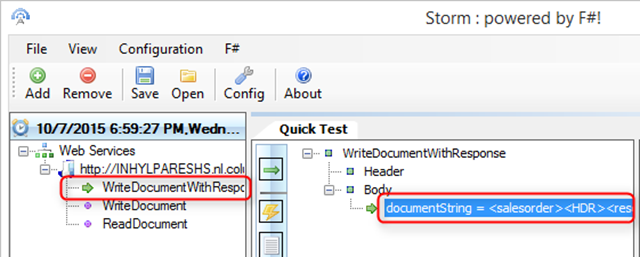
- On the WCF Storm window, paste the content in the value of documentString property.
- Click Send.
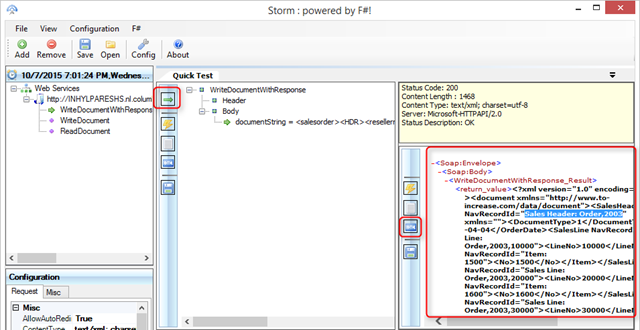
- You can check the result:
- Records are created in NAV. Check the History in BIS connection.
- NAV send back the response with the sales order details to the client. In this case check the output right window on WCF Storm.

